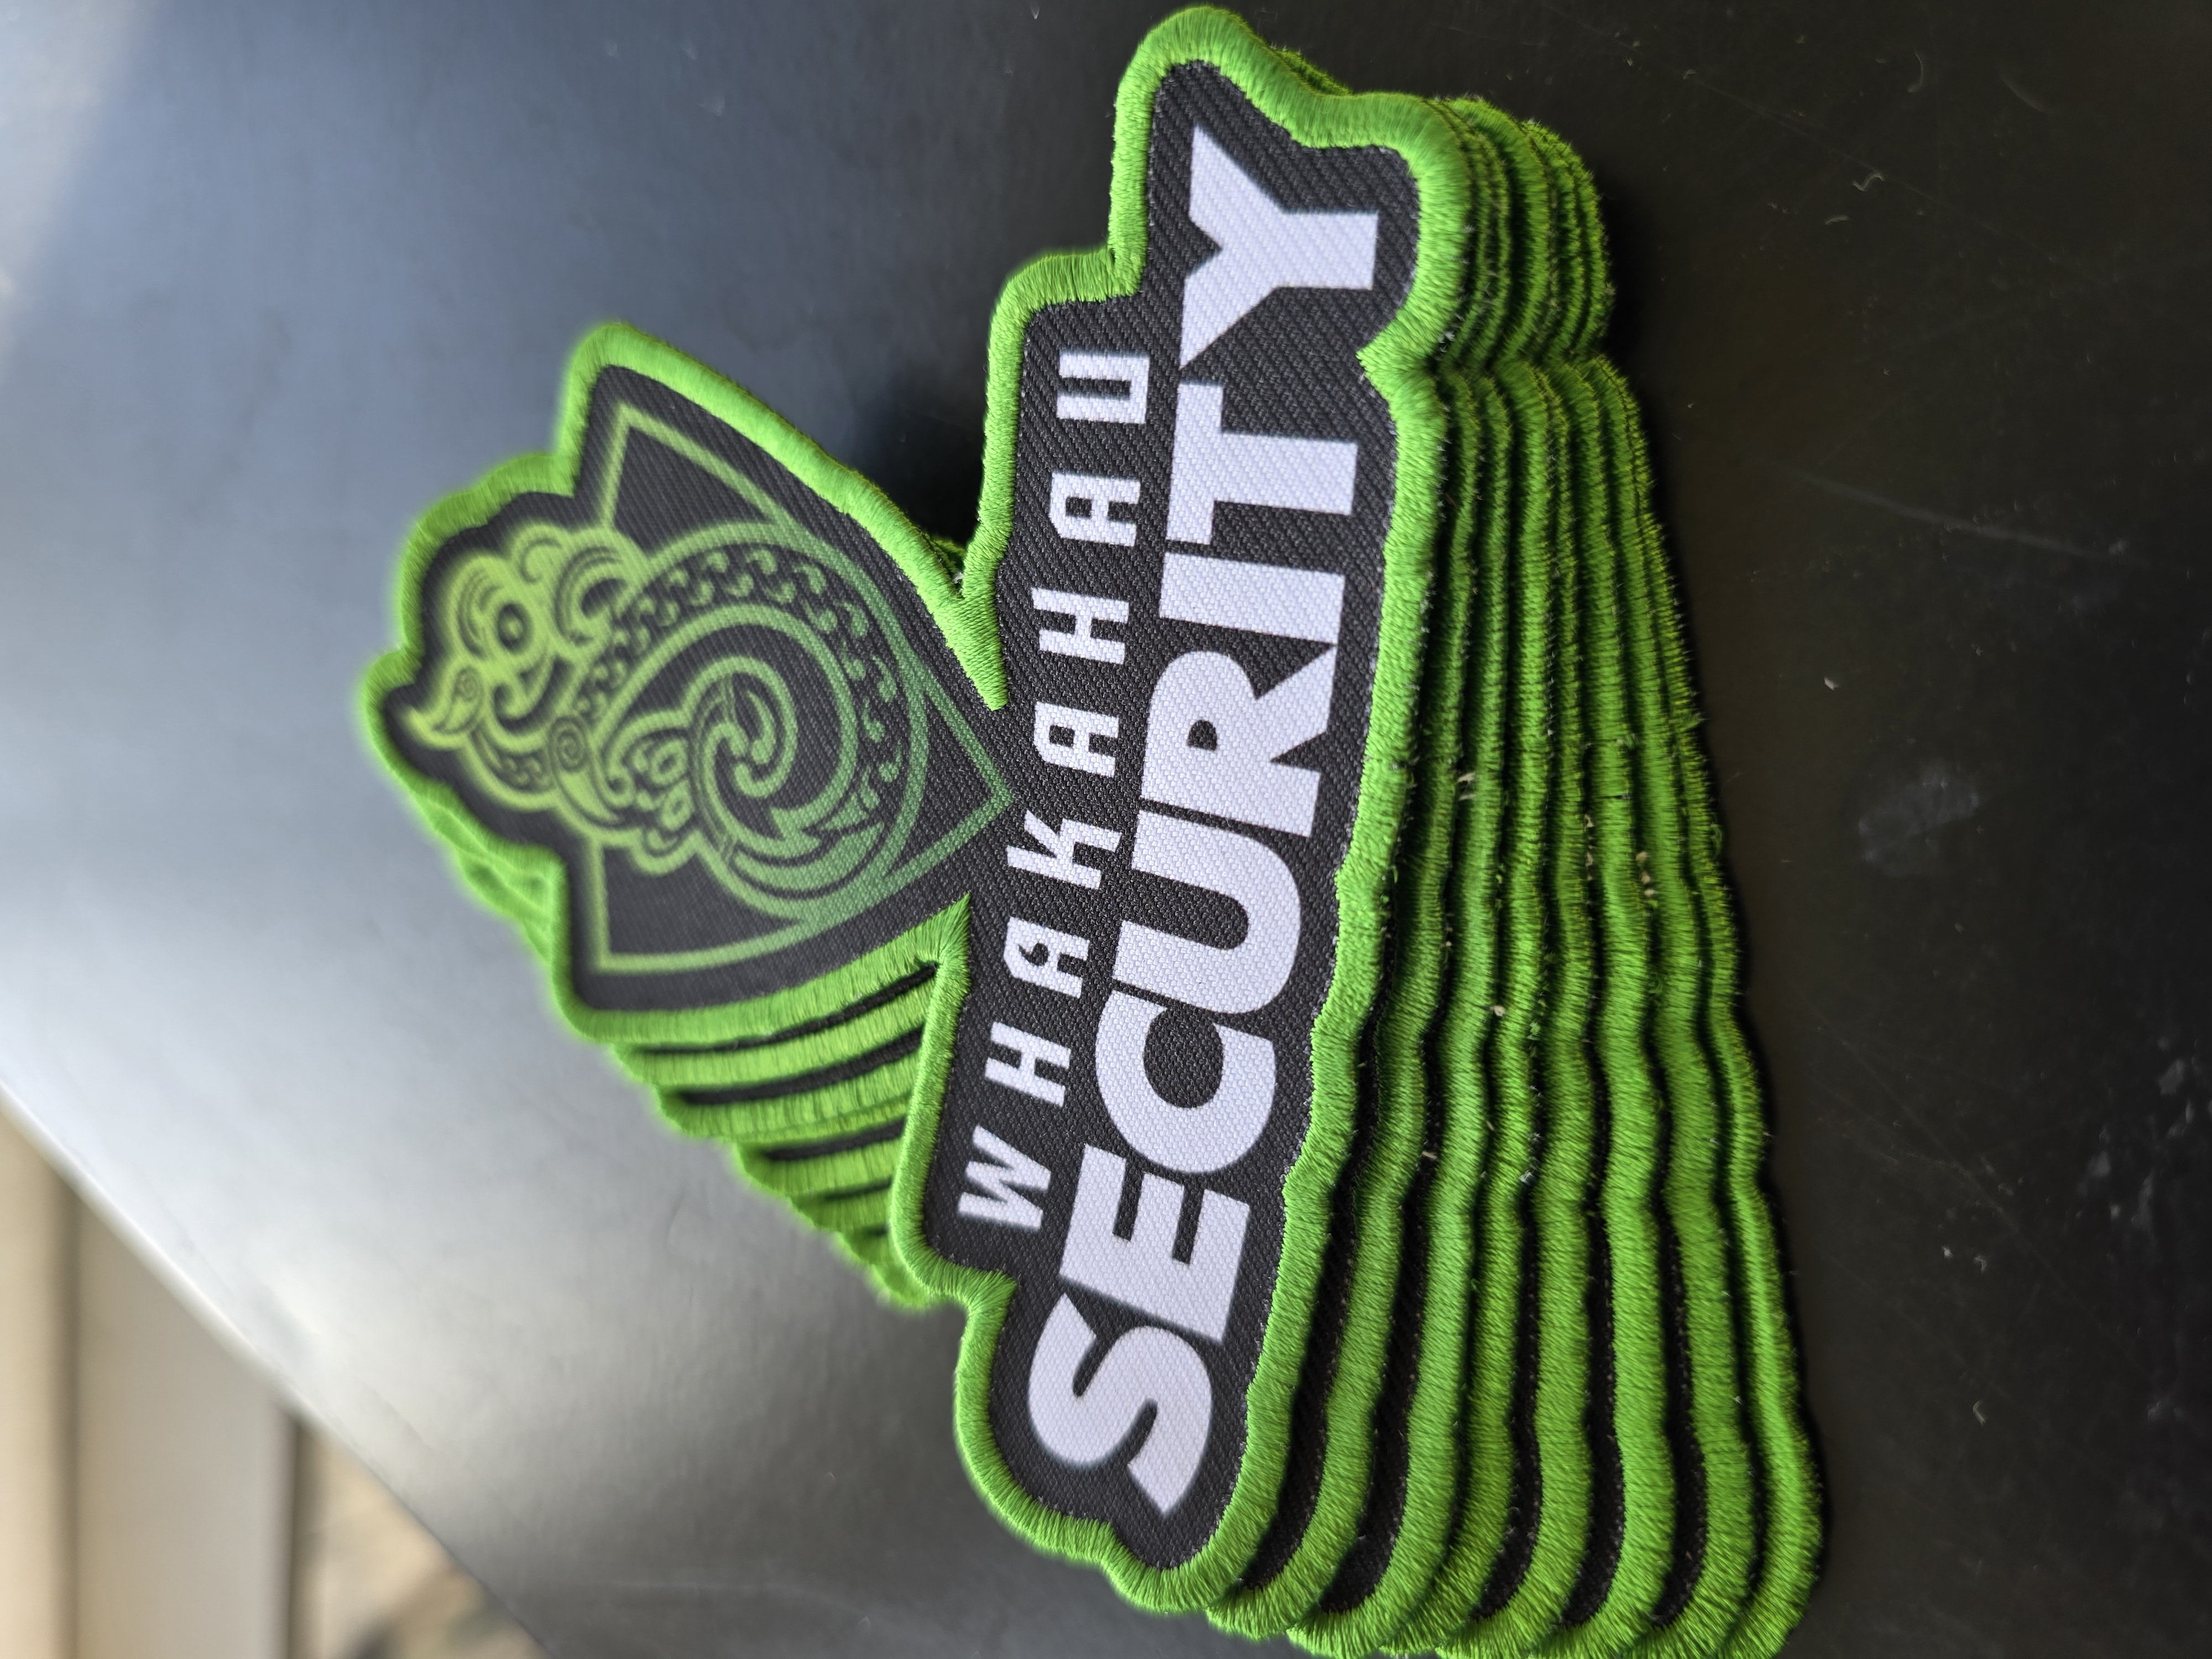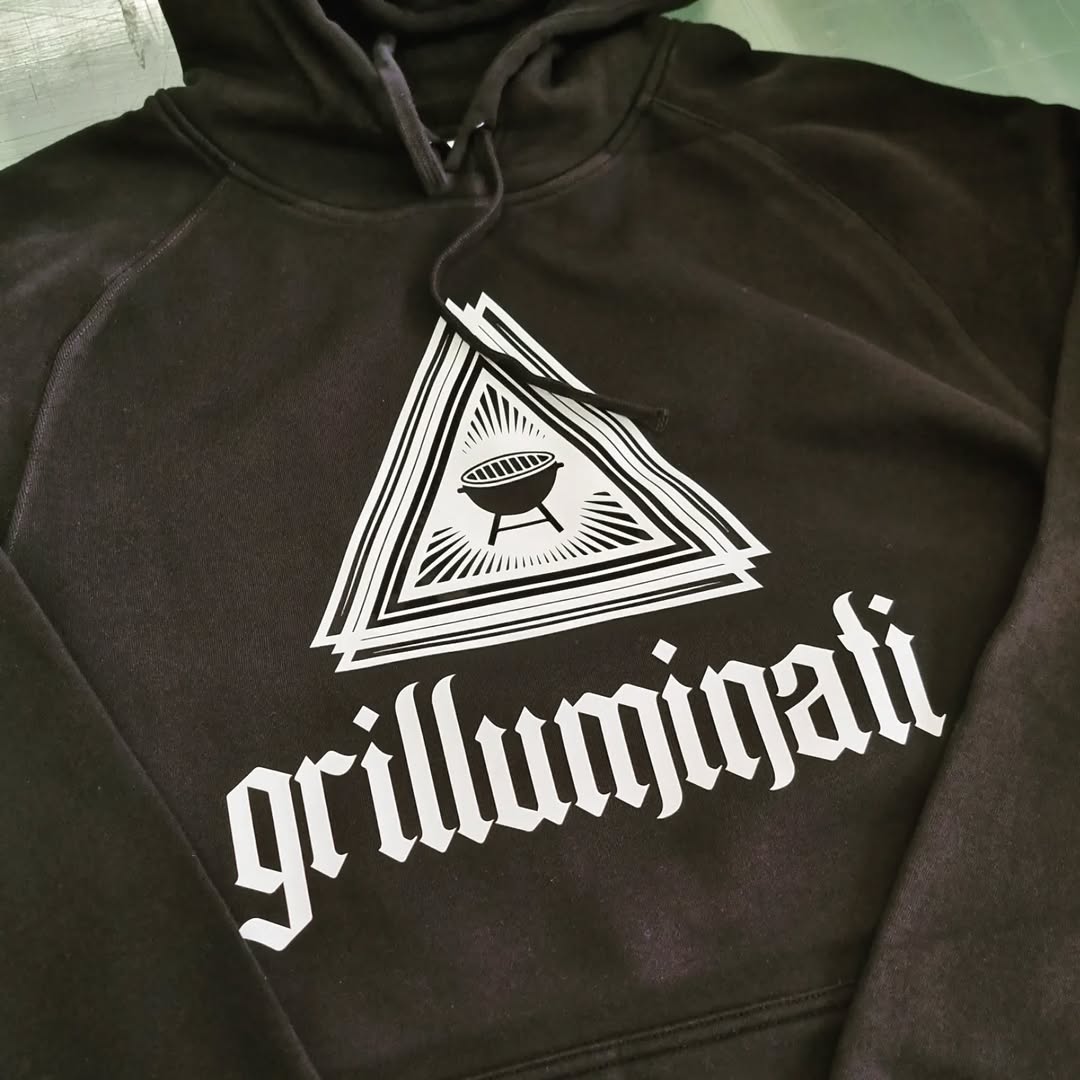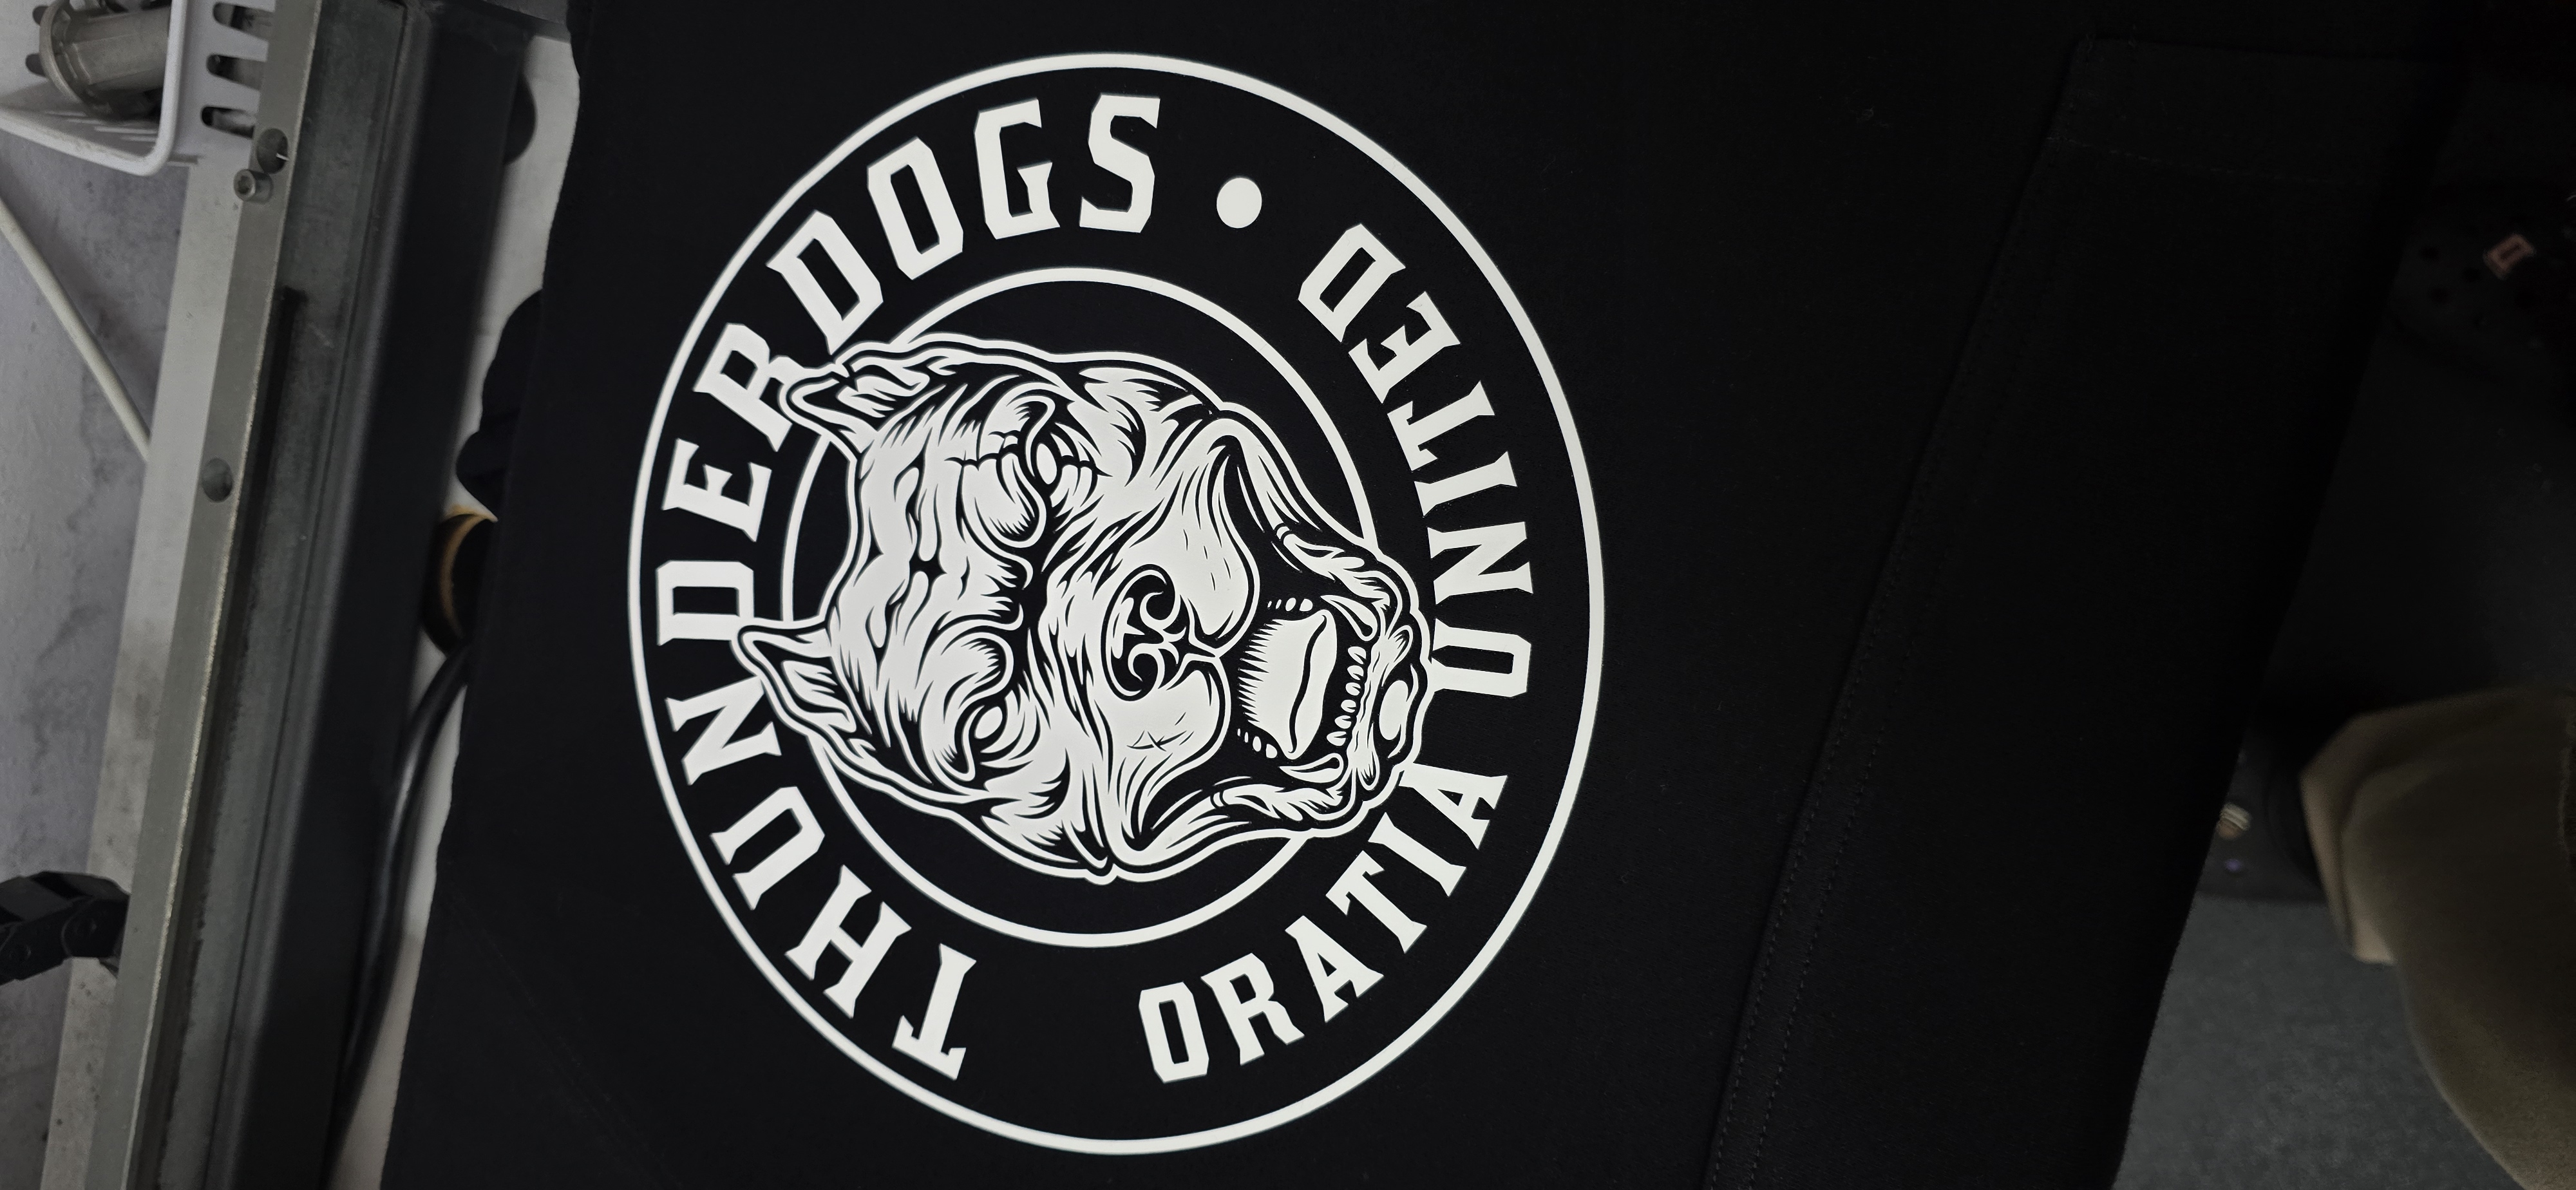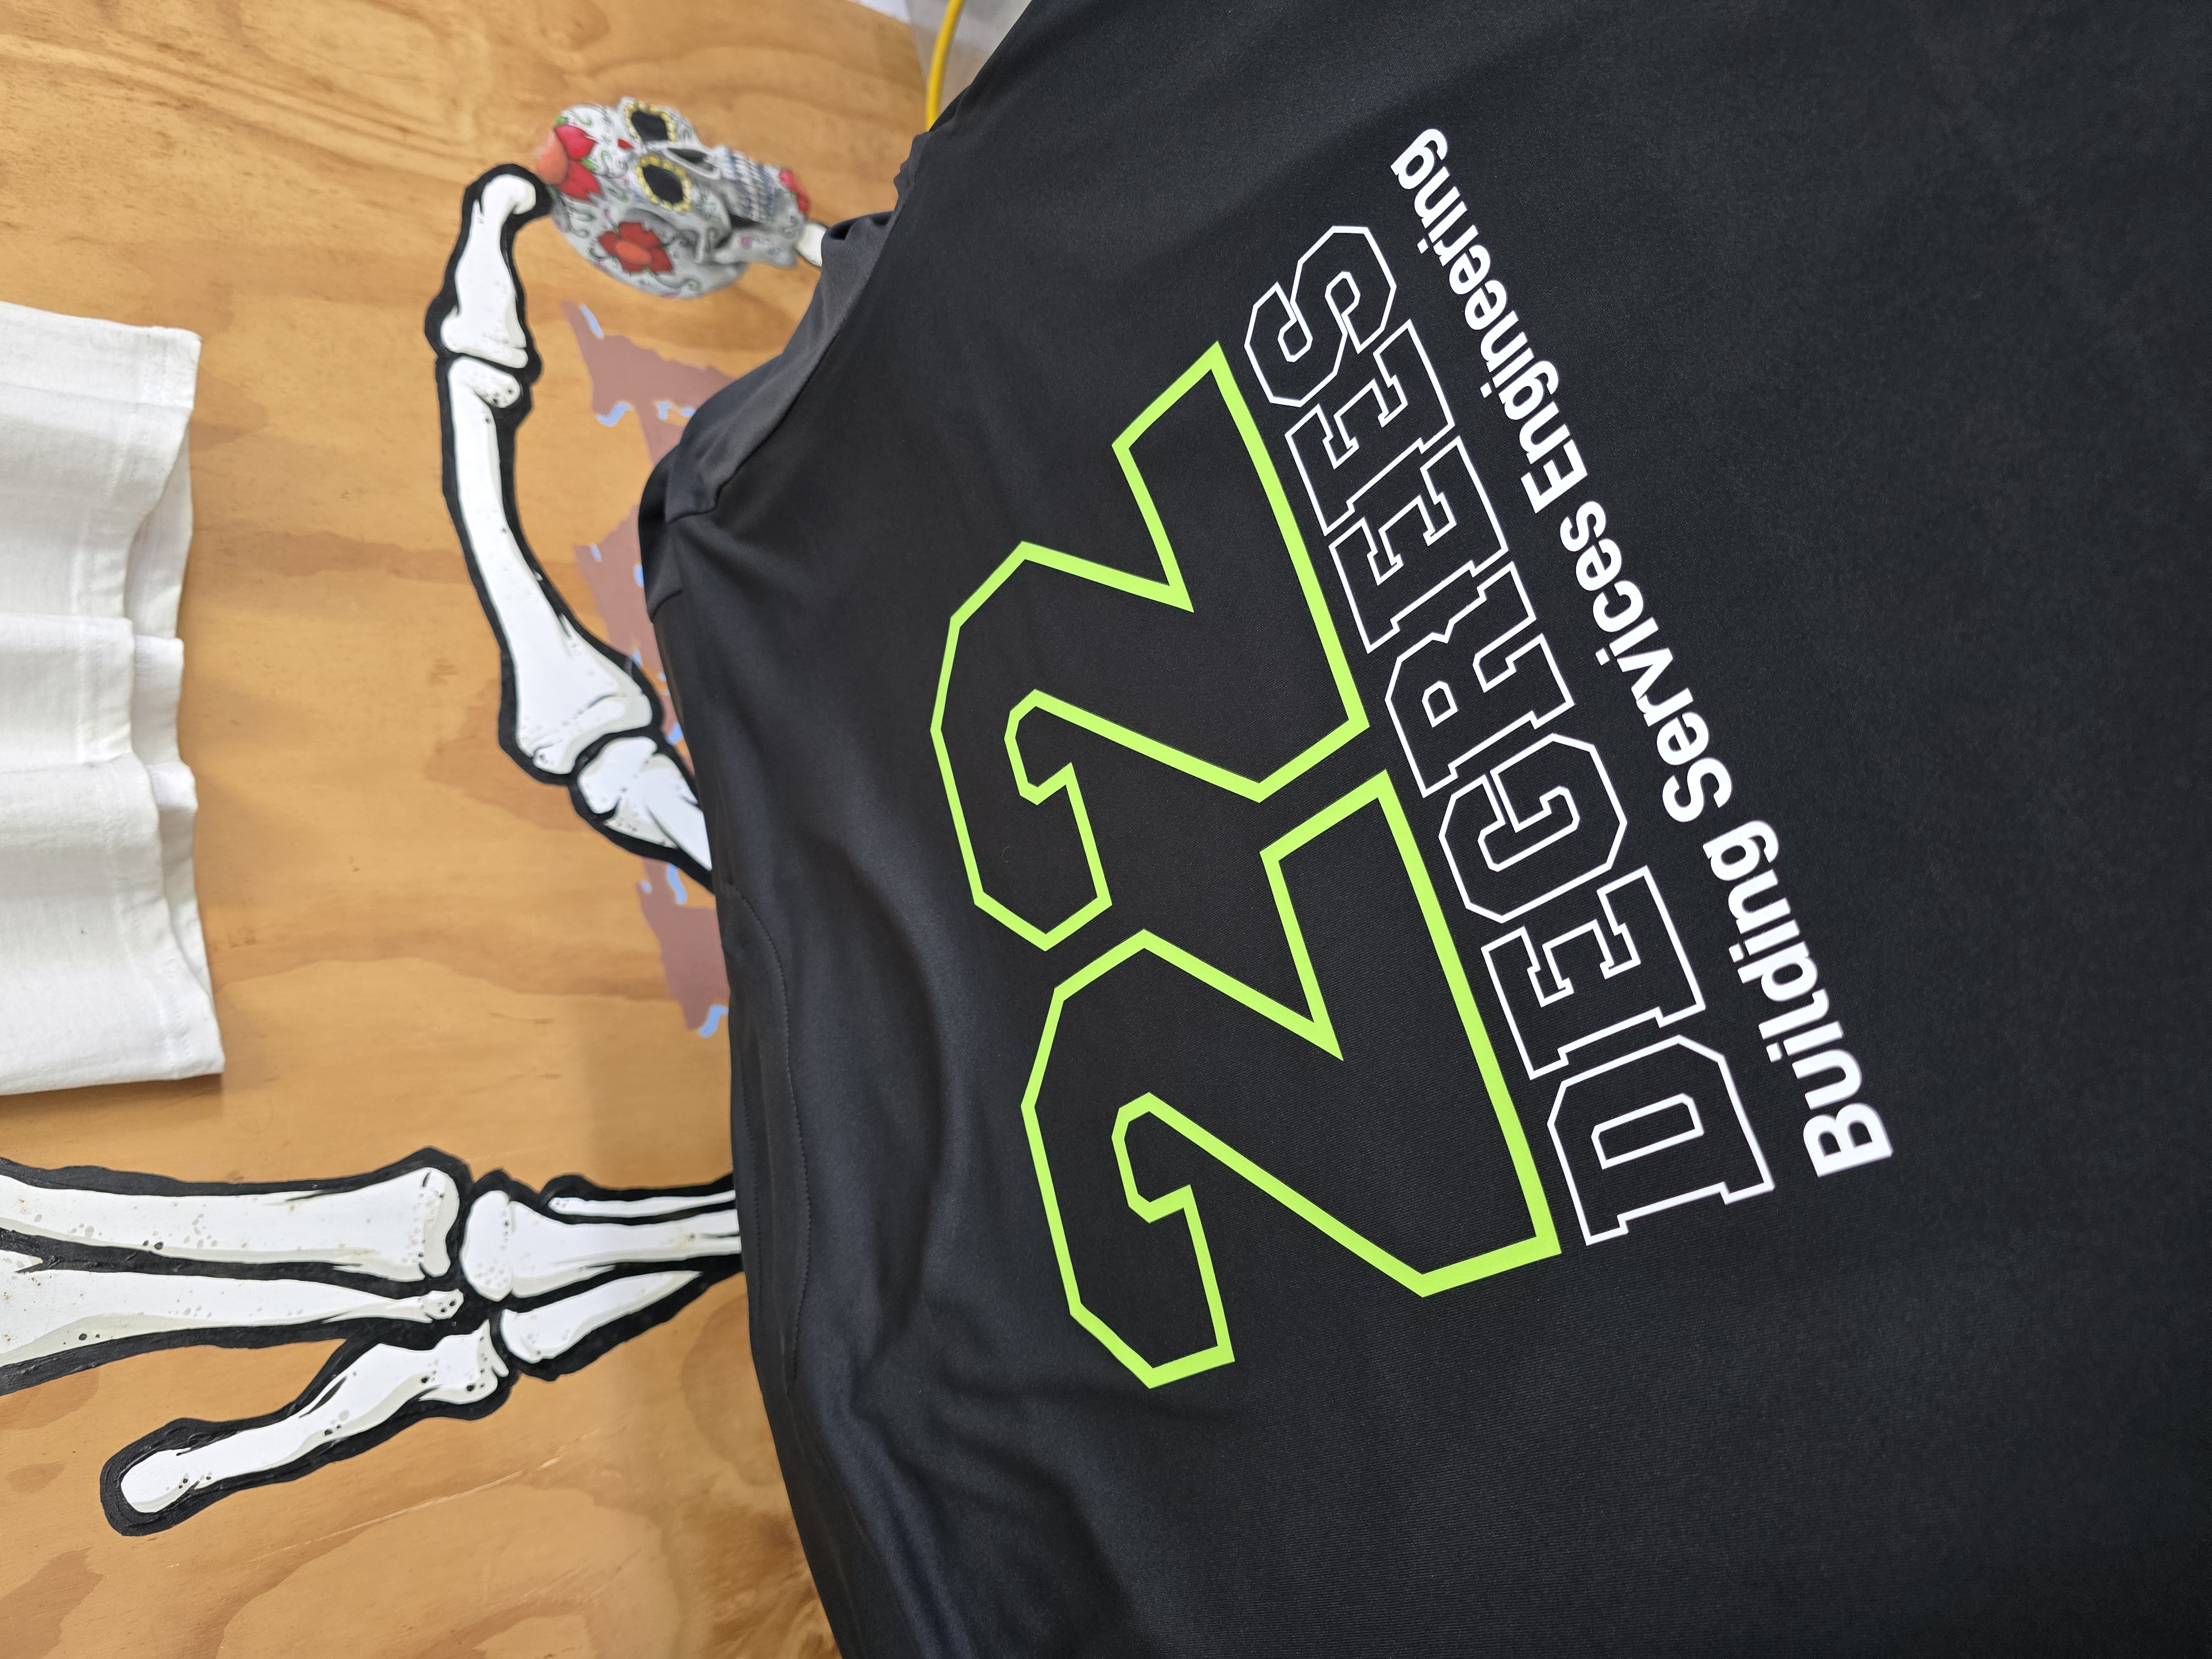
“How much does t-shirt printing cost?” is the most common question we get, and any printer who answers it with a single number without asking about your job is guessing. Two orders of thirty shirts can land in genuinely different places depending on what is being printed, on what, and how.
That is not evasion, it is how the pricing actually works. So instead of a made-up price list, here is what really moves a t-shirt printing quote in Auckland, and how to use that to your advantage when you ask for one.
This is the costing companion to our other guides: what to decide before you order covers the planning, and the bulk order guide covers coordinating a big run. This one is about why the quote comes out the way it does.
Why there is no single answer
A custom t-shirt printing job is really three things bundled together: the garments themselves, the setup work to get your design ready to print, and the printing of each unit. Each part responds to different decisions you make.
That bundling is why a generic “from” price on a website tells you almost nothing. It describes the smallest possible version of a job that probably does not look like yours. The useful move is understanding the levers, because most of them are in your control.
1. Quantity: the biggest lever
Setup is largely a fixed cost. In screen printing, every colour in your design needs its own screen made before a single shirt is printed. That work costs the same whether you print 10 shirts or 300, so the more shirts it is spread across, the less each shirt carries.
This is why per-shirt cost falls, often steeply, as quantity rises, and why screen printing rewards bulk while small runs usually route to heat transfer or DTF, where there are no screens to make.
Two practical takeaways. First, get your numbers as firm as you can before asking for a quote, because “about 20” and “about 60” can produce different recommendations, not just different totals. Second, if you are close to a sensible round number, ask. Sometimes a slightly larger run works out better per shirt, and we will tell you when that is the case.
2. The garment you choose
The blank shirt is a real portion of the cost, and it is the factor buyers control most directly. A lightweight promo tee for a one-day event and a heavyweight combed-cotton tee for a merch line are different garments at different points, and both can be the right call.
The trap is mismatching garment and job: paying for premium blanks on shirts that get worn once, or putting daily-wear staff shirts on the lightest blank available and replacing them all in a few months. Our guide to choosing the shirt, print position and finish goes deep on this. The short version: tell us the use case and we will point you at blanks that fit it, at more than one level if you want options to compare.
3. Print positions and colours
Every location on the shirt is a separate setup. A left chest logo is one print. Chest plus full back is two. Add a sleeve and it is three. Each position needs its own preparation and its own pass through the press, so the design layout directly shapes the quote.
Colour count matters most in screen printing, where each colour is a separate screen and a separate application of ink. A one-colour crest is the efficient end. A six-colour illustrated design is a bigger setup, which is exactly why detailed full-colour artwork often routes to transfer printing instead, where colour count stops mattering.
Dark garments add one more layer, literally: printing colour onto black or navy needs a white underbase first so the design stays vivid. None of this should scare you off a multi-position, full-colour job. It just means the design decisions and the quote move together, and simplifying a design is sometimes the easiest way to bring a job into line.
4. Artwork readiness
Print-ready artwork keeps a job clean. That means a vector file (AI, EPS, SVG or vector PDF), or at minimum a high-resolution image large enough for the print size you want.
When artwork is not print-ready, someone has to make it print-ready. A logo lifted off a website at a few hundred pixels wide cannot be blown up to a full-back print, so it gets redrawn, and that is design time on the job. Our graphic design team does this well and you keep the rebuilt file for every future order, but it is work you can avoid entirely by sending the right file in the first place. If you are not sure what you have, send it anyway and ask. We would far rather look at your file up front than discover a problem after the job is quoted.
5. Your deadline
The date does not carry a fee, but it shapes the job. A comfortable deadline leaves every option open: any method, any garment, room to approve artwork properly. A tight one narrows the choices, because some methods and some garment orders simply need more lead time than others, and the options that remain may not be the ones the job would otherwise get.
So treat the deadline as a real input, not a detail to mention at the end. Tell us the date the shirts need to be in your hands and we will be straight about what is realistic and plan backwards from there.
How to get an accurate quote
By now the list writes itself. To get a quote that reflects your actual job instead of a generic answer, send:
- Quantity, with a size breakdown if you have one
- The garment you want, or the use case so we can recommend one
- Print positions (chest, back, sleeve, or a combination)
- Colour count, or just send the design and we will work it out
- Your artwork, ideally vector, flagged if it needs work
- The date you need the shirts in hand
Anything you have not decided, say so. “Forty tees for a September event, logo on the chest, artwork attached, garment open to suggestions” is a brief we can quote properly and quickly.
We are based in Henderson, West Auckland, and quote t-shirt printing jobs for businesses, clubs, schools and events across Auckland every week. Get in touch for a quote or start at the t-shirt printing service page to see how we work.